After coming up with the basic planning for my 3d printed drone project, I have gone into more detail regarding the constuction and assembly.
Assembling the servos
I am using standard 9 g micro servos. If you are building RC models, you might have seen these before and they are a good choice for 3d printed drones due to their light weight. They come with M2 x 0.4 screws, so I will need threads on the model. I could have used threaded inserts but after some testing, I decided to just print the threads. Printing an M2 x 0.4 thread didn’t work, because the thread was too small, probably due to shrinking after the print is finished. But M2.2 and M2.5 worked out quite well. A disadvantage is that unlike threaded inserts, 3d printed inserts will wear out pretty quickly, so the drone shouldn’t be reassembled too often.

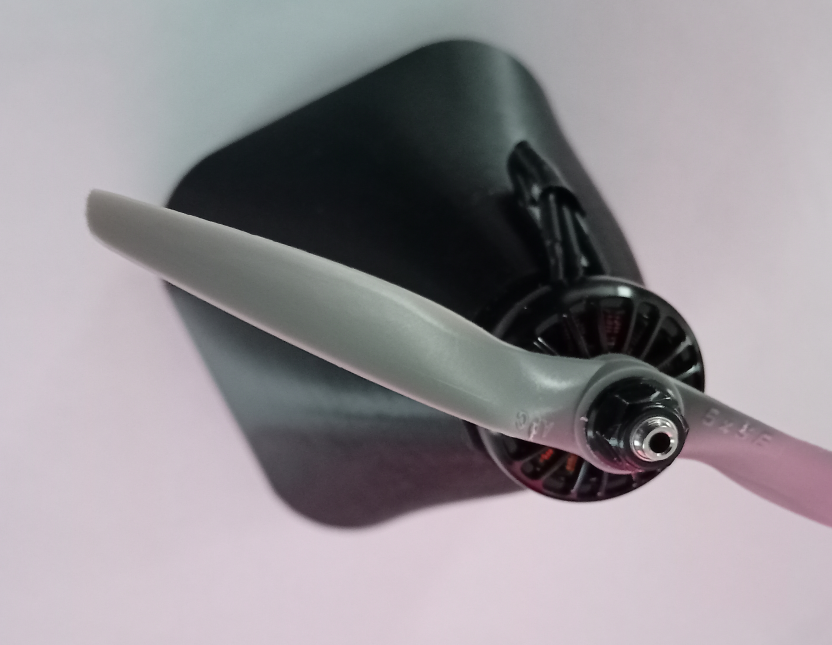
Assembling the motor
I assembeled the motor at the front. The motor connection is already threaded, so all I needed was a 4 hole connection at the front and another hole to put the cables into the body.
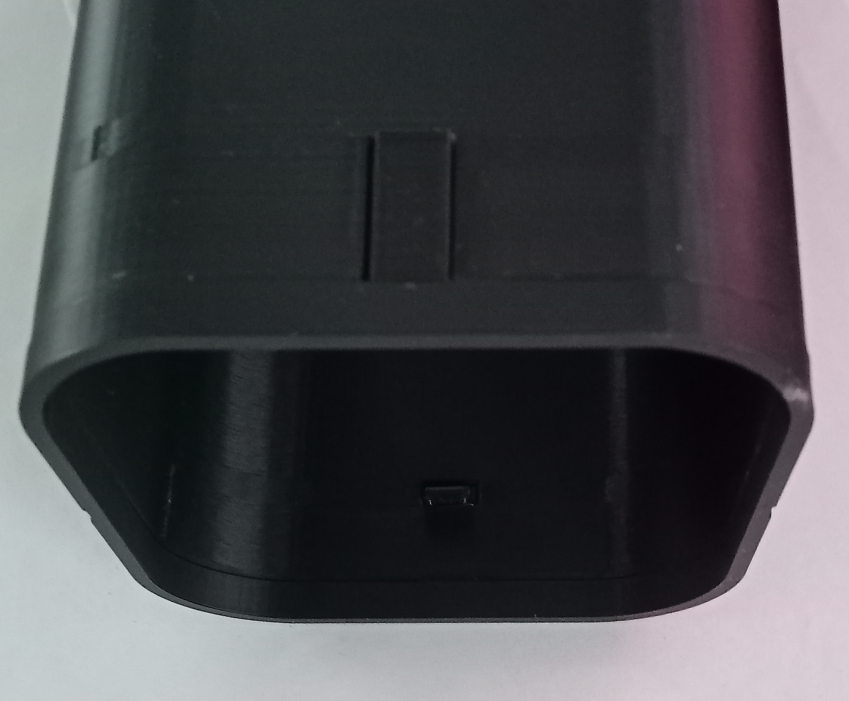
Connecting the main bodies of the drone
To connect the fuselage, I chose a 3d printed snap fit design. I had to do a bunch of iterations to get the size and shape right. The part that snaps into the hole was either too thick and it wouldn’t bend or it was too long and it wouldn’t fit or the part that goes inside was too short and therefore, the connection wasn’t solid enough. A fillet was also necessary, otherwise the part would break. The dimensions that ultimately worked, were a thickness of 0.75 mm and a length of 15 mm and a 1mm fillet at the base. I will stick to a snap fit for prototyping out of convenience, but for the final version, I will probably use a more solid connection, like glue.
The Filament
I printed a wing part using Renkforce LW-PLA and compared it to regular PLA+ from Sunlu. Renkforce is fairly cheap, but probably has lower quality than LW PLA from Prusa, Bambu or Polymaker, but I’m sure that this will work too. I set the extrusion factor to 0.5 and printed at 250 °C temperature with otherwise standard Prusa Slicer settings (it is important to change these parameters when you are printing Light Weight PLA). The PLA+ wing weighed 48 g

while the LW-PLA one weighed only 23 g.

In the future, I might increase the temperature up to 280 °C to increase foaming and thus make the parts even lighter, but that would be at the expense of the structural stability.
Related Posts
DIY 3D printed drone project – Part 1
DIY 3D printed drone project – Part 3 Center of gravity, servos and the motor