Since my last update, a few things have changed. I tried to test the Mateksys F405 Wing flight controller with Ardupilot, but I ran into some issues. The calibration worked for the servos, but for some reason, it was irresponsive when I tried to calibrate the motor. I also realized, that the way I soldered the pins on the flight controller was totally messed up, because I soldered them all individually, instead of inserting the pins, while they were attached to each other (dumb beginners mistake…). Additionally, the flight controller is not supported anymore by Ardupilot. I thought at first, that it would probably still work, but that may not be the case and I decided to just order a new flight controller. I ordered the Speedybee F405 Wing Mini and I decided to test the drone without an FC in the meantime. So I finished designing and printing all the drone parts and assembled them together.
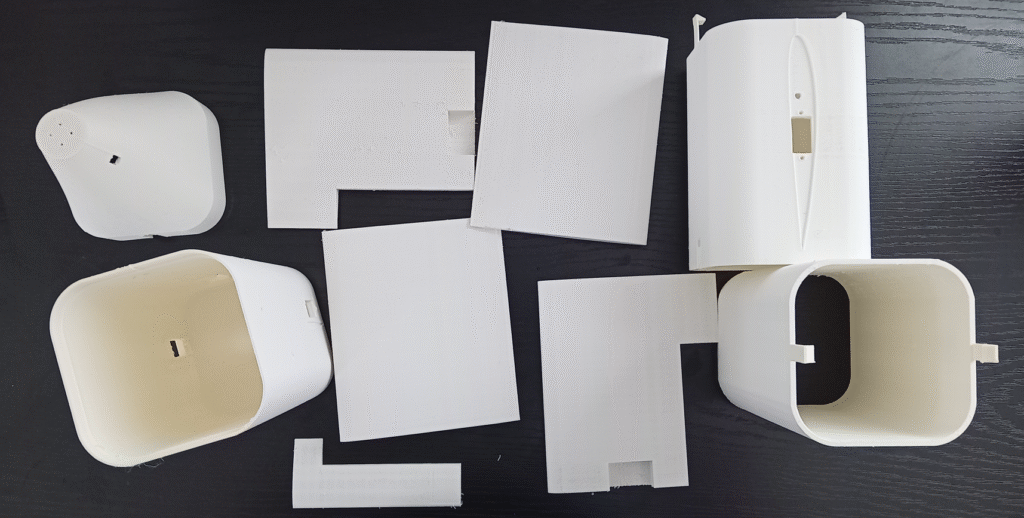
Printing the parts
I printed the parts with LW PLA. The temperature was 250°C and the extrusion factor was at 0.4 at 5 % infill. I realised while I was printing that 0.4 was possibly too high because the prints seemed too bloated during printing, but I didn’t want to start over, experimenting with different extrusion factors. I was kinda disappointed with the filament because it is very brittle and weak and there was a lot of stringing, which is pretty annoying, but it should be ok for a hobby drone.
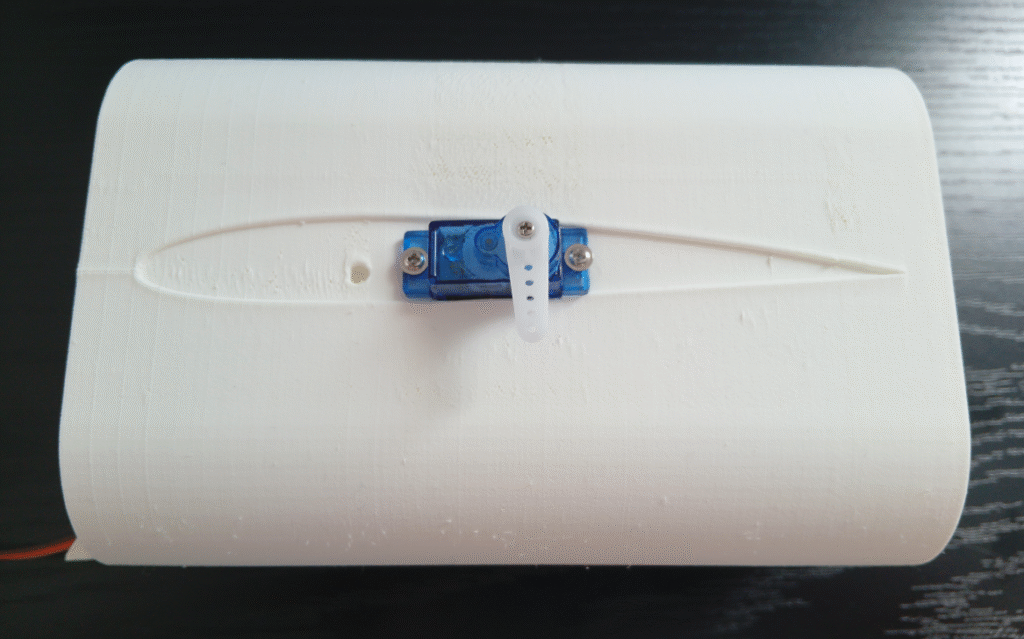
I screwed the servos directly to the filament. Threaded inserts aren’t necessary.
I designed a snap fit instead of glue to connect the main body parts, so I could easily replace the components, if necessary. The back part with its extension and wings are glued together. The snap fit parts are very weak and they break at the slightest impact, so I will tape them in addition. I made the mistake of not rounding the base and making the part too thin. Fot future designs, I might use an iproved snap fit design.
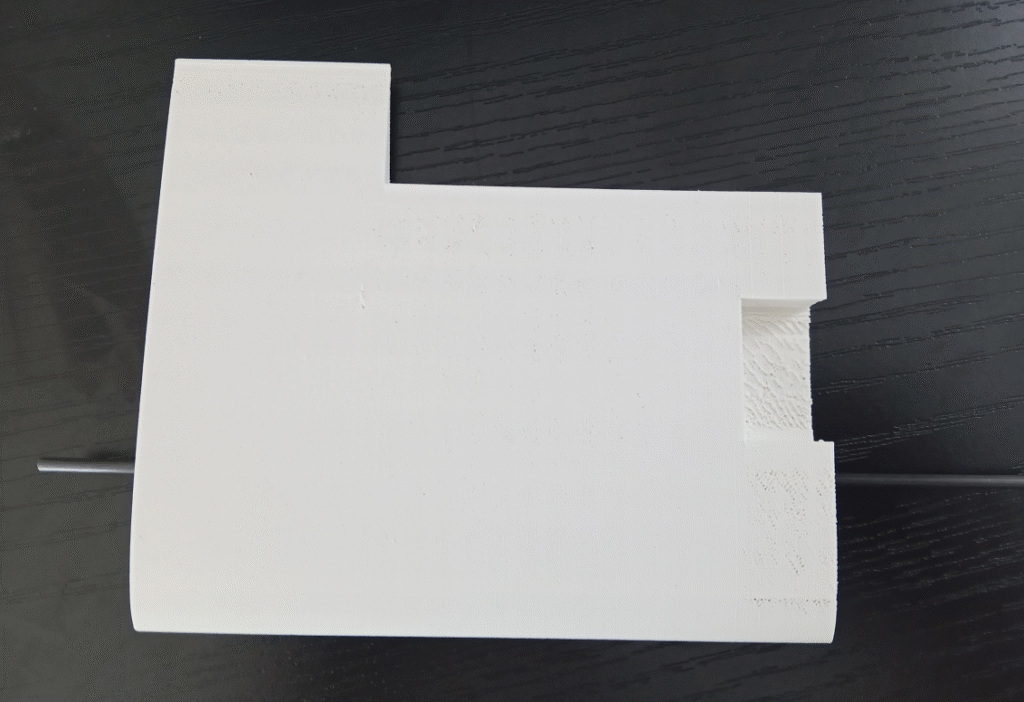
I am using 3mm carbon fiber rods as spars for the wing. The hole is printed with a 4 mm diameter in the design, because anything lower wouldn’t fit.
I used tape to connect the flight control surfaces (aileron, elevator, rudder) to the wings and stabilizers.
Next, I am going to test the drone.
The 3d printing files
Here are the stl files in case you want to build the drone yourself:
Related Posts
DIY 3D printed drone project – Part 1
DIY 3D printed drone project – Part 2
DIY 3D printed drone project – Part 3 Center of gravity, servos and the motor